
Materials for my Scavenged Traveler’s Notebook
- Notebook cover – Bought, hand-made, fabric, leather. Whatever you prefer to look at.
- Sketchbook/Notebook Paper – Your favorite type of paper
- Sewing needle
- Waxed thread – I used old tooth floss
- Rubber band – to enclose the book (you can buy elastic as an alternative)
Awhile ago I got lucky on a trip to the thrift store and found a good size leather wallet. I bought it with the intention on using it as a sketchbook cover for my scavenged traveler’s notebook. I wanted it big enough that it would hold a decent size sketchbook but not too pocket size. I knew it wouldn’t fit in a pocket which was fine since I was going to put it in a bag. What I didn’t know was that the wallet size was unusual so it was hard to find a refill that would fit perfectly just popping it in.
In the end, I thought it wouldn’t be a big deal to make my own sketchbooks and it’d be a fun little side hobby. I just never got around to it until recently. I must say that it was a little hard and confusing at first but once I got the hang of it, it was actually quite fun.


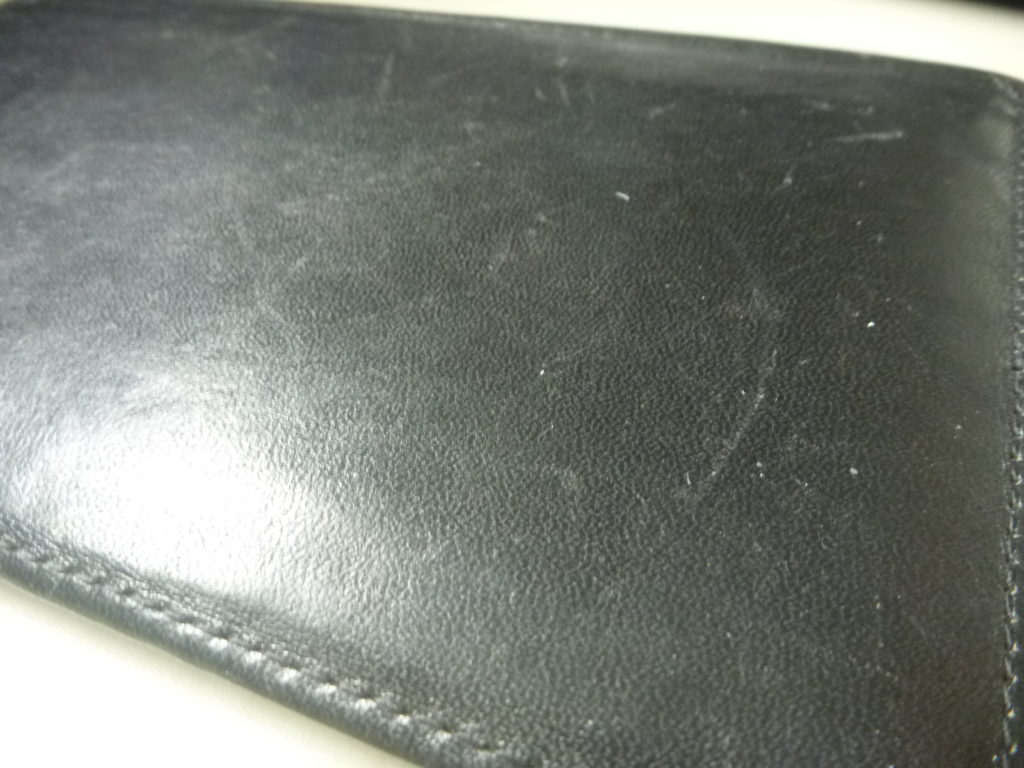
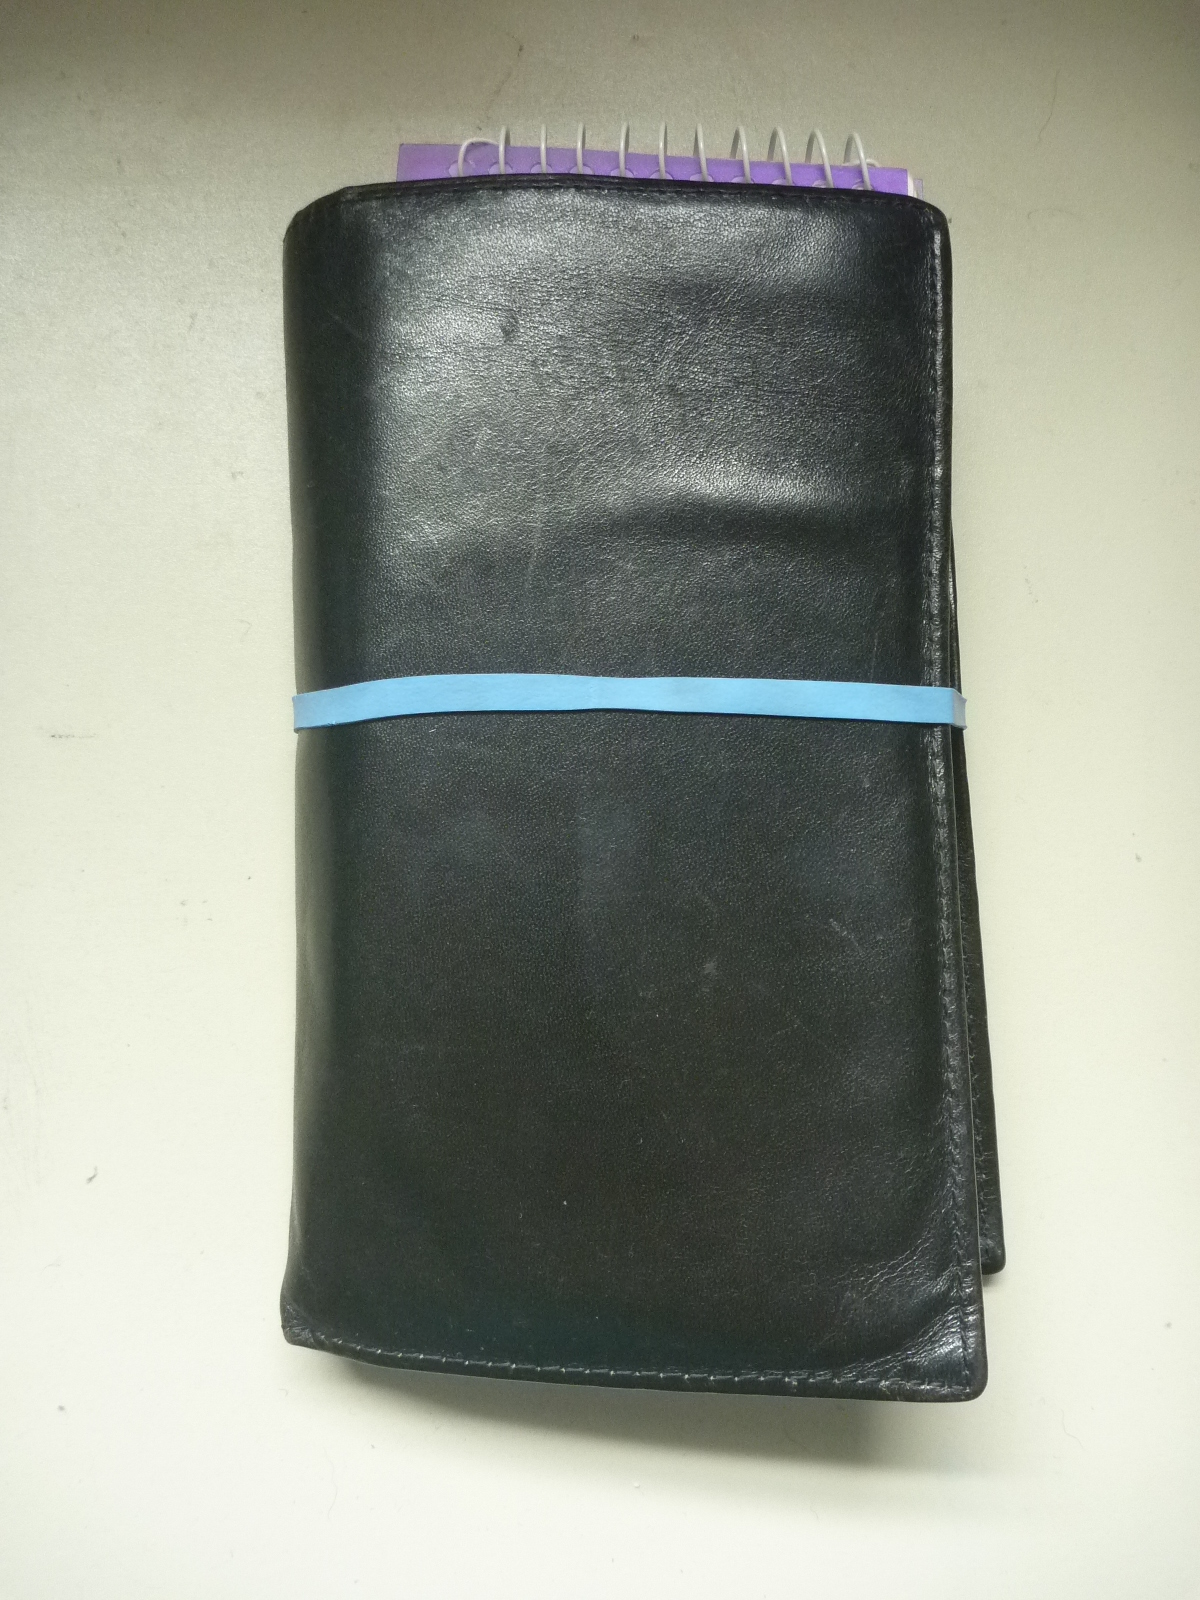
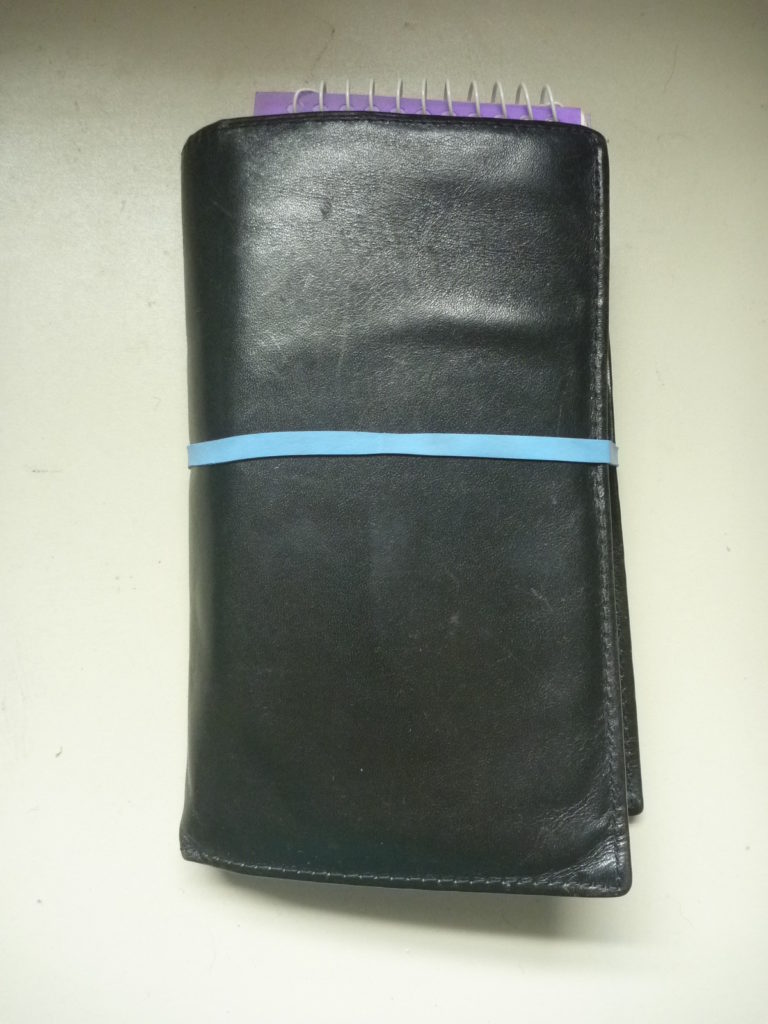
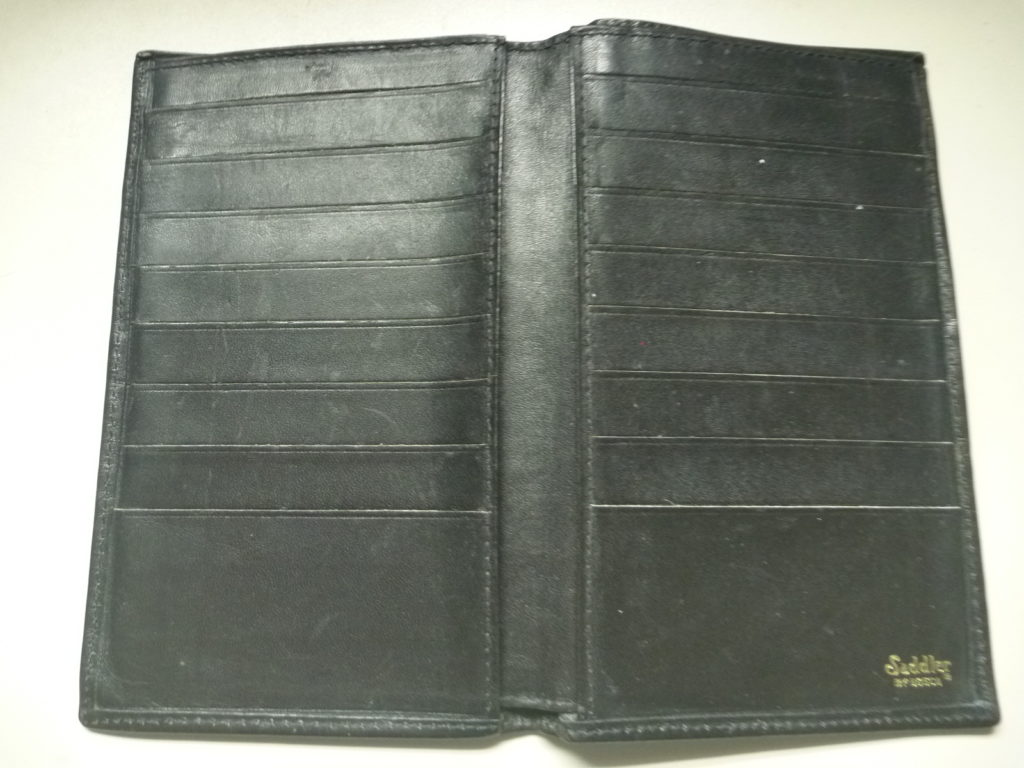
Here’s the wallet, I wasn’t sure if it was authentic leather at first or not after awhile I didn’t care. I loved how supple it felt and with it only costing less than $3 it was practically a steal. A lady who overheard me talking about it said that her parents used to own a leather store said if I scratched it a bit and it left a mark then it was authentic, she tried and said it looked like it was. lol Not sure how true that was but I just liked how it felt so I was ok with it. The wallet has card holders on the inner flaps which turns out great to hold little things like notes or even business cards.
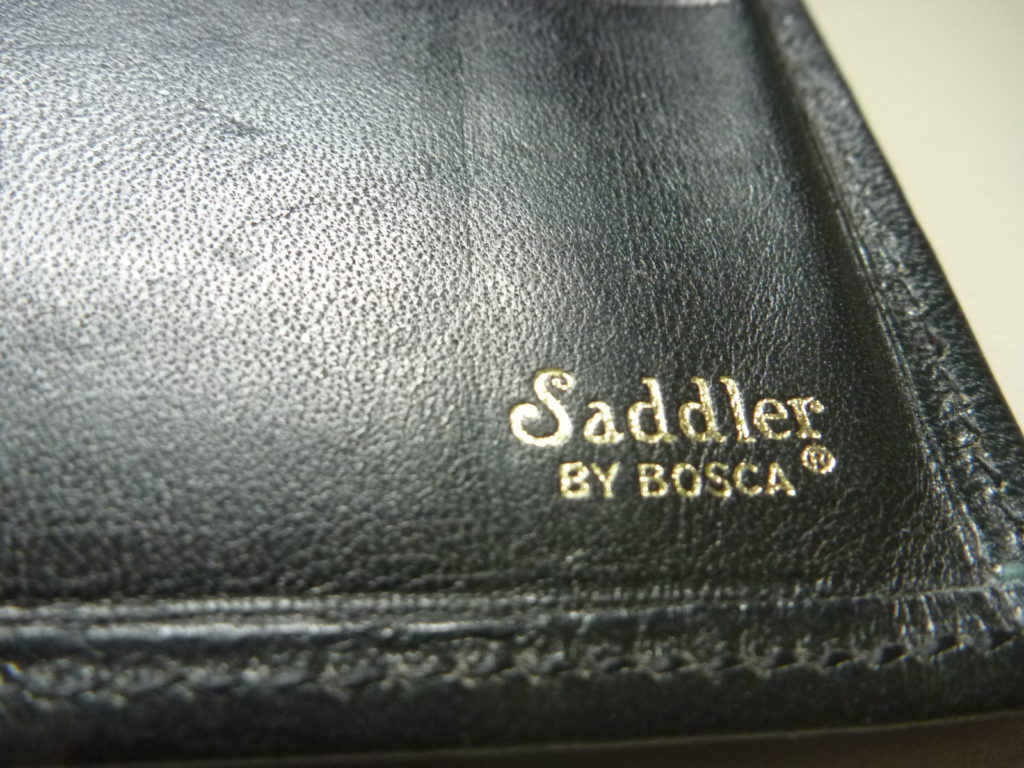
When I got home I researched the Saddler’s brand and looks like it’s legitimate. I love that it has it’s own history, I’ve no idea who the previous owners were but it looked in decent shape. The reason I wanted a leather wallet specifically was that I assumed that the wallet would be well made and built to last. Plus people donate/toss out their perfectly nice old/gently used/excess wallets. I’m ok with using something used, if you prefer new you’d probably better off purchasing a new wallet/cover.
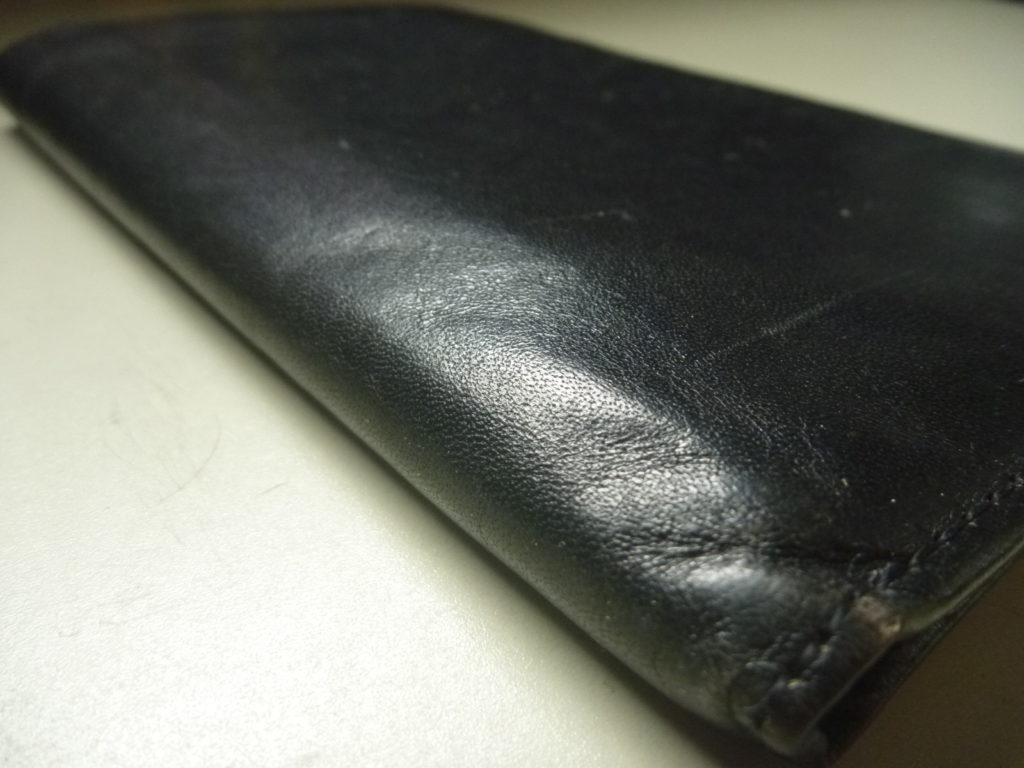
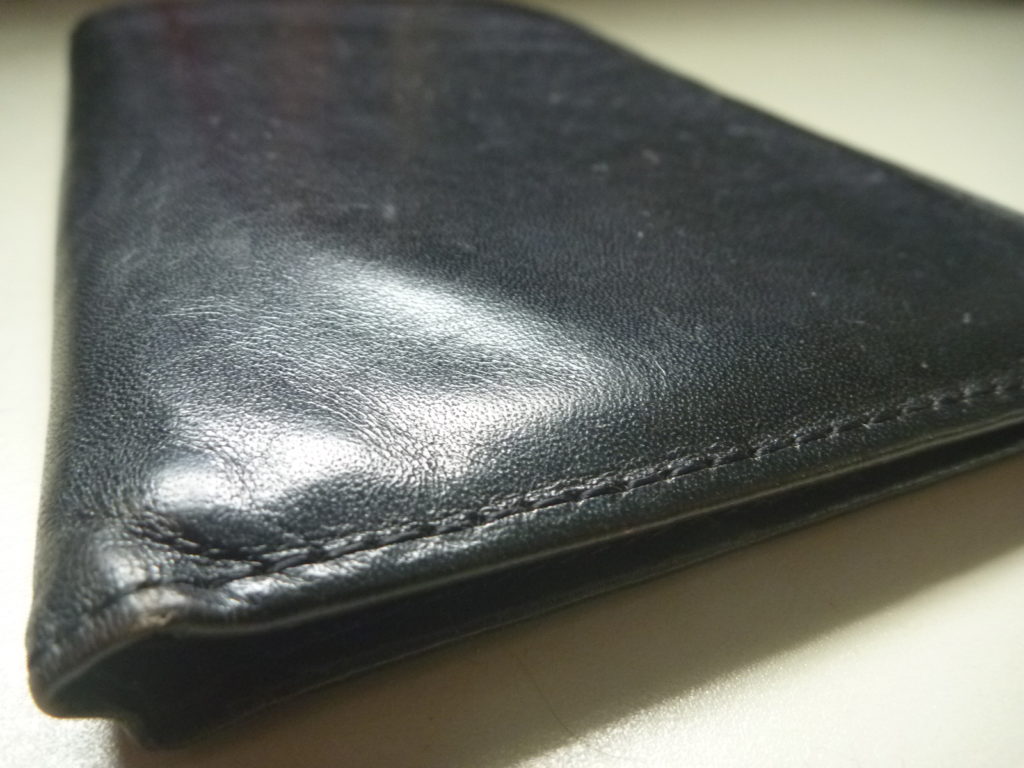
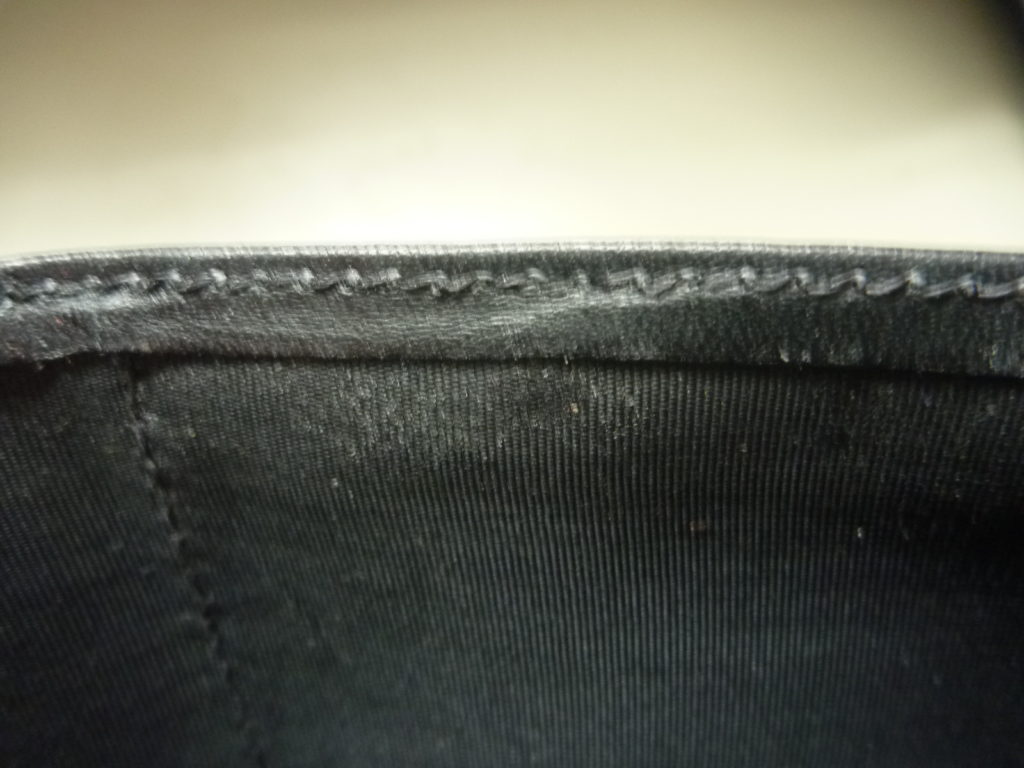
The only issue was that the backing on one of the sides was coming apart. I thought about sewing it back together or using Elmer’s glue but I thought if I used water to wipe it, it would fall apart again. haha My awesome mom recommended using a special leather glue that she had. After reading the back I realized it was perfect. It only took 2 applications for it to seal it back together. Other than that, there were no other holes or problems. Perfect. 😀
You can see a tiny bit of glue residue but other than that it doesn’t open up anymore.
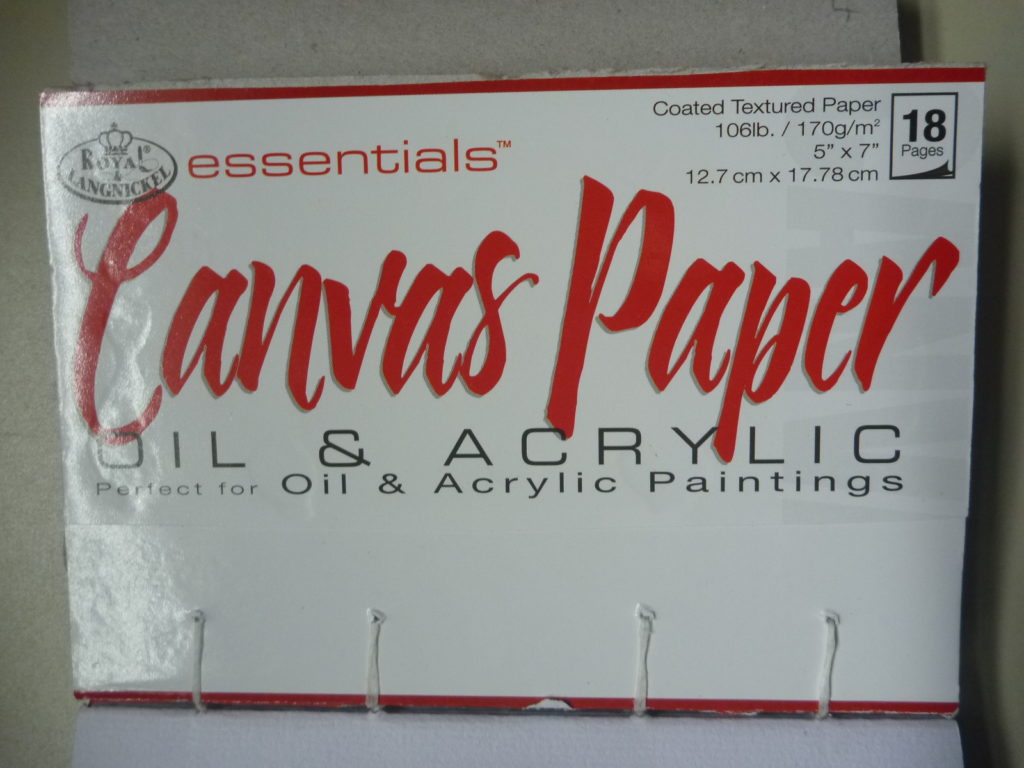
One day a couple of weeks ago I finally decided to book bind the sketchbook. I wish I had pictures to show you guys but I was more focused on making it since was my first time so I hadn’t considered taking progress pictures until it was done… I had trouble figuring out what size to use based on the wallet size and settled for using a pre-cut 5×7 pad I bought from the local Jo-Anns. The size was close enough when I cut it in half. I took the whole pad apart keeping the backboard as the covers. I took the paper and folded them all in half.
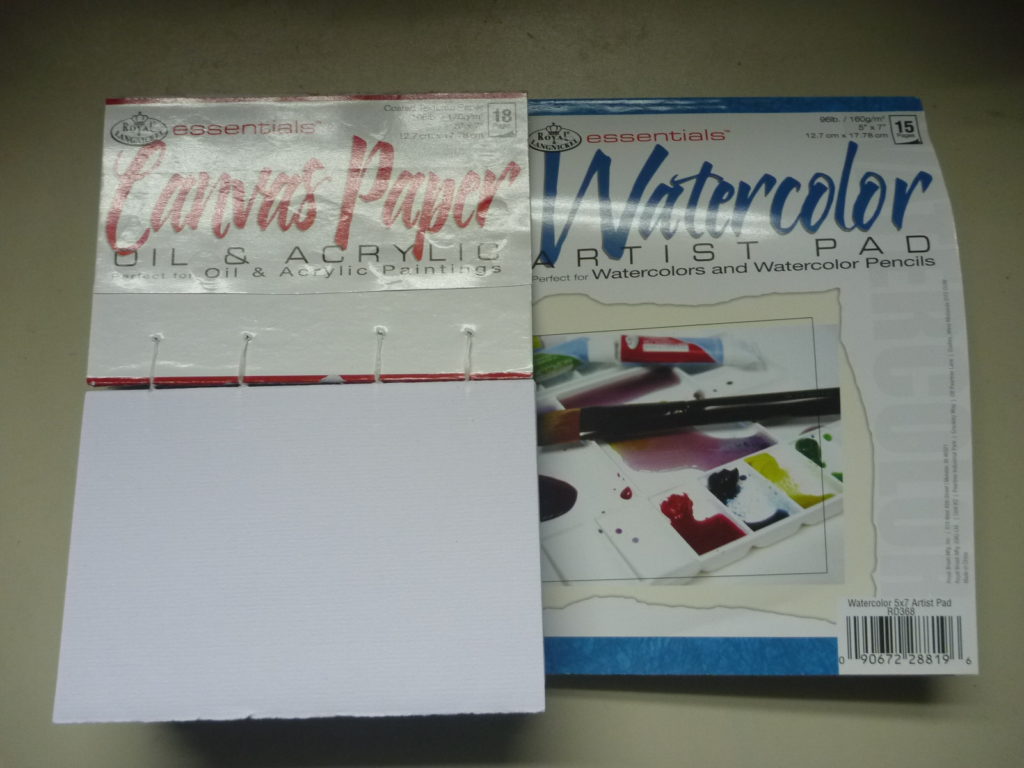
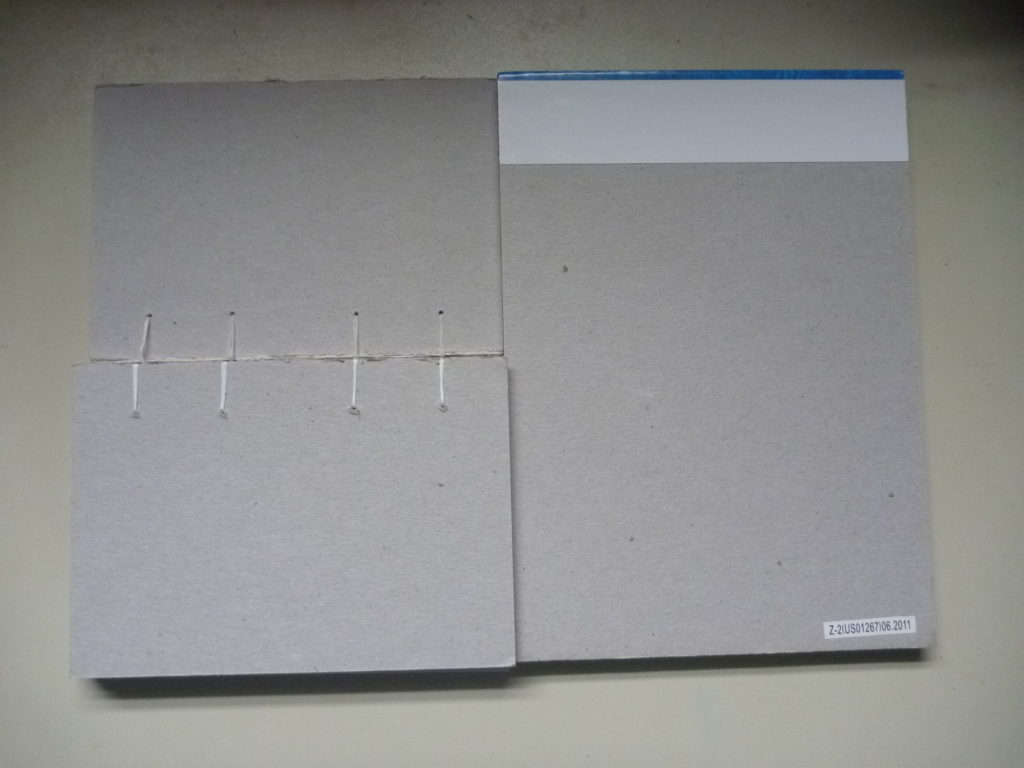
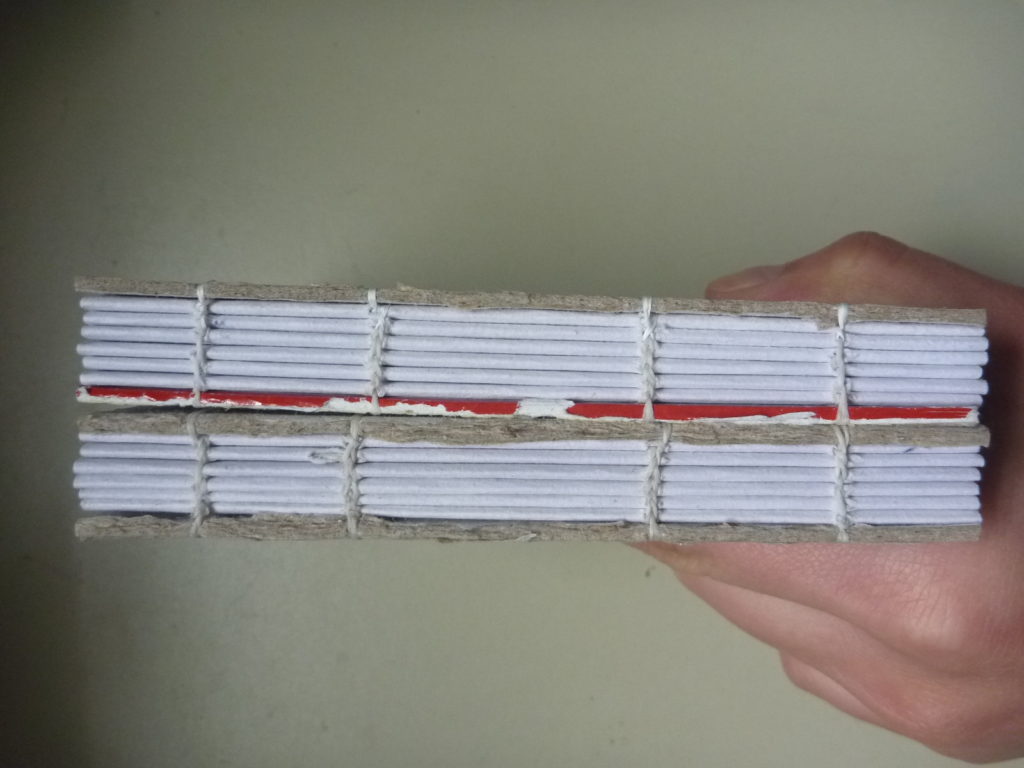
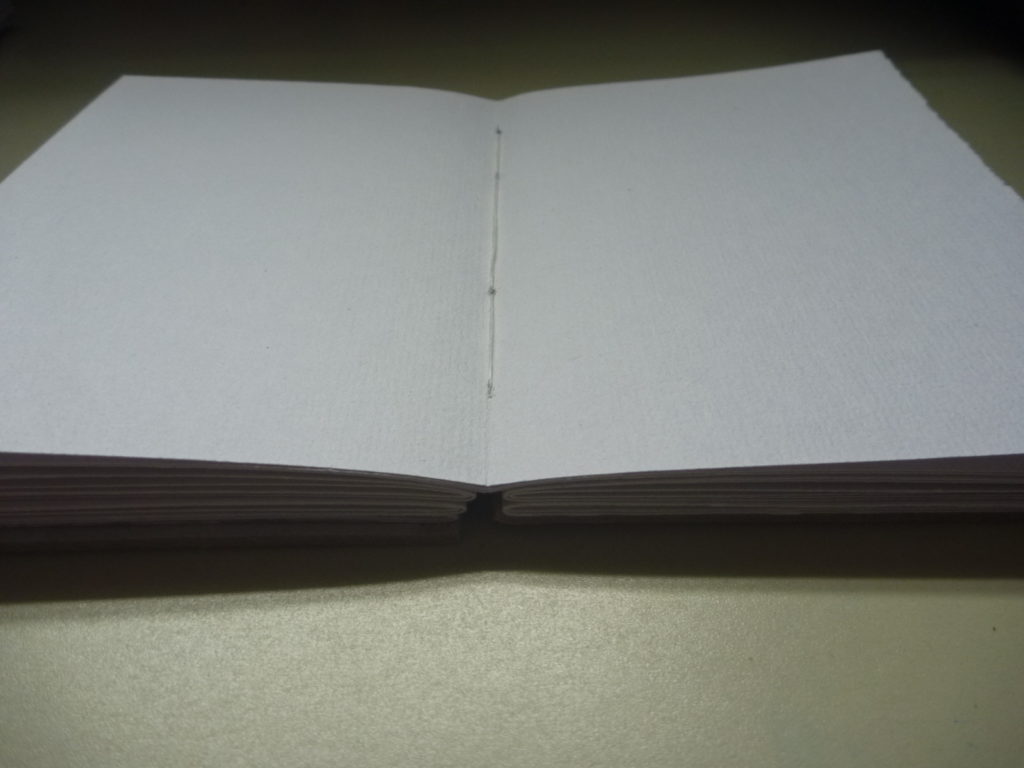
I made the signatures with 3 pages per signature because I wanted it lie flat. I did not know which type of stitch to use but ended up settling for the Coptic Stitch at the end since I thought the spine stitch was nice and I wasn’t planning on adding a spine. I ended up watching a Youtube video on how to do it. I think I was a bit messed up on the top and bottom stitches but it still holds up well enough.
Here are the finished products. I don’t really care how the covers look, if I feel up to it I may decorate them but it seems pointless if I have the leather cover for now. Once I do finish them I may decorate the covers based on what I do on the inside. I may decorate it as I fill it up. Not sure, I guess it’ll depend on my mood. 🙂
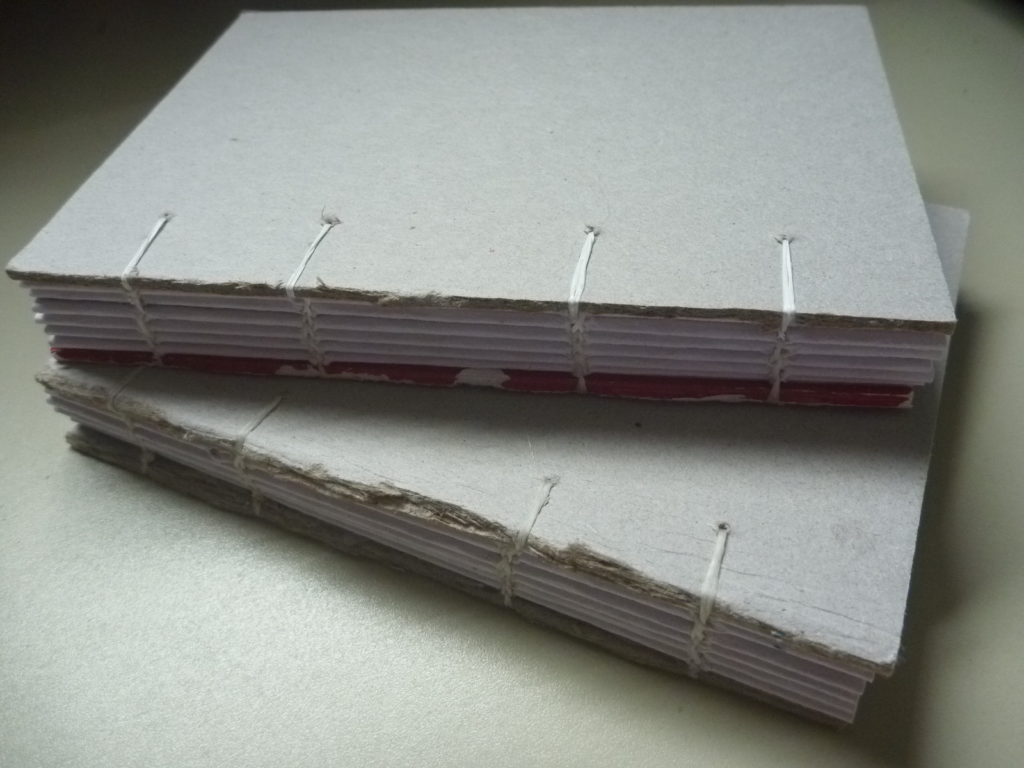
The first attempt is on the bottom, the second attempt is at the top if you couldn’t tell. haha

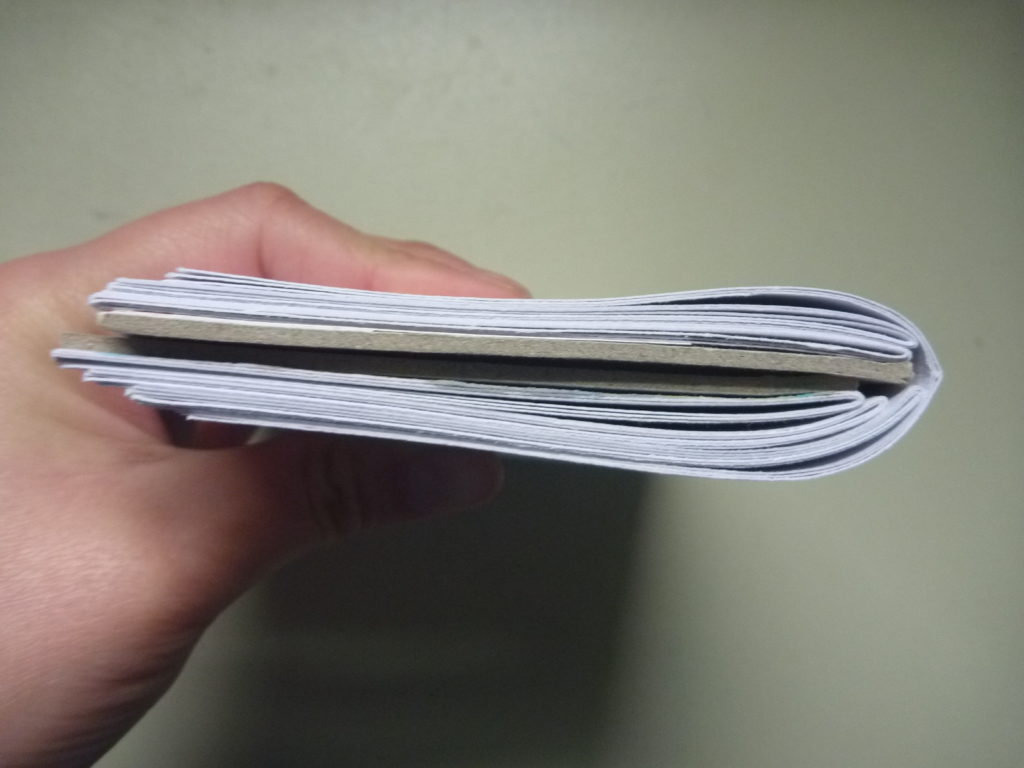
They turned out a bit thicker than I thought but it’s fine. It does fit fairly snug in the cover, I may have to use thinner notebooks so that it’s not as bulky.
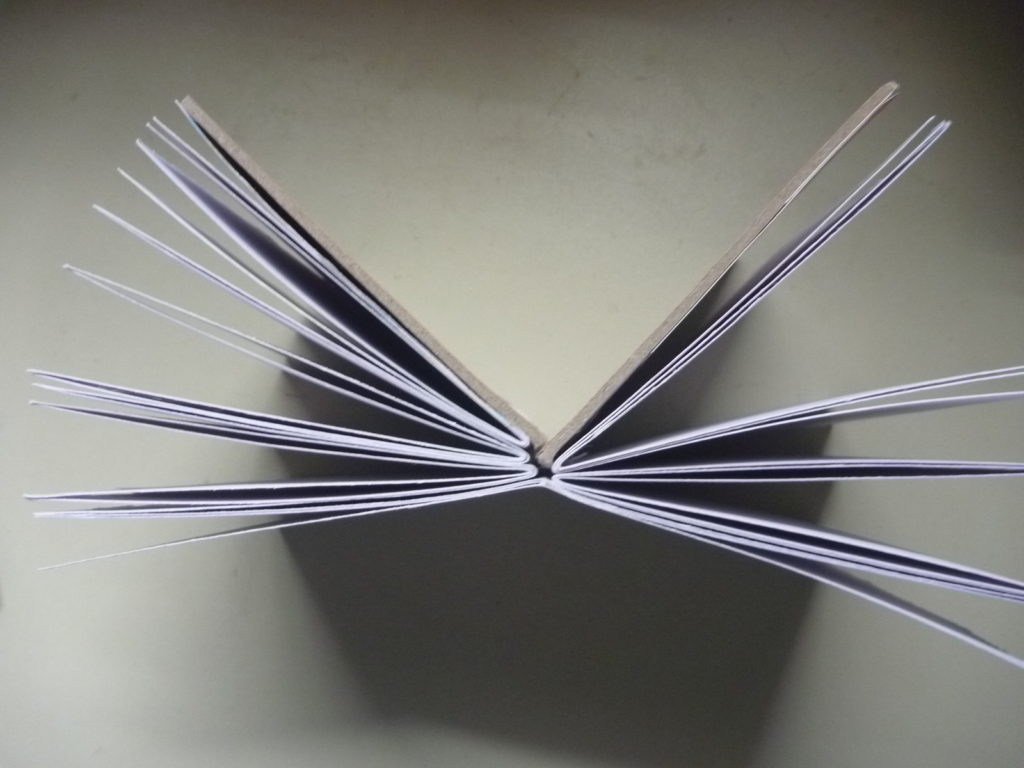
Flips 360 degrees but I may be stretching the threads a bit and it’s not super flat but it’s interesting that I can bend it this much without it falling completely apart. I probably shouldn’t be doing this but I’m just experimenting to see how far I can push it. Also the threads are a bit loose since I didn’t pull the threads tight enough when I was sewing them together.
Just messing with the book as it fans out.
I liked the Coptic stitch but I didn’t love the gap between some of the signatures… It sort of bothers me. I’m probably just being aesthetically nit-picky and it’s not that big of a deal. If you do full spreads of watercolor or other mixed media it may bother you because it could leak between the signatures. I tend to focus on one page at a time so it’s not a huge deal.

Some things I noticed for my first and second attempt at bookbinding for my wallet cover:
- second attempt was better than the first, a bit cleaner and tighter in the binding
- looser binding worked better in the wallet because of the wide inner folds of the wallet (something I did not consider)
- not sure how I feel about the gap between signatures for the Coptic stitch (I’ll probably try a different type of book binding later)
- add a half inch to the height and a half inch less on the width if I ever cut the paper myself
- it turned out to be 36 sheets in each book
Overall, I think it’s successful and kind of nice to know that I can customize the cover to hold whatever books I like. In the follow up post I’ll show how I’ve arranged my traveler’s notebook. Still trying to figure out the perfect arrangement.
If you have any questions, comments, or concerns feel free to leave a comment or contact me directly. 🙂
Be First to Comment