
This is my cross-posted guest post I wrote for Becca at Nattosoup! If you haven’t already seen or heard of Becca, she has an adorable web comic that you can read and tons of amazing art/comic/watercolor resources FOR FREE so be sure to check her out!.
If you’re like me, some of you might be paralyzed by all the watercolor palette choices we have these days. In fact, I waffled in my choices, partially due to my indecisive nature but because I wanted to find one that worked for me.
But you’re in luck! Today I’m bringing you the things I’ve learned since buying all my palettes to prevent you from spending all your hard-earned money until you find the ONE palette that triumphs over them all. I hope that this watercolor palette comparison for beginners helps you make wiser, more informed choices before you spend your money. I don’t regret learning but I do have a lot more palettes than I really need now but those could always be redistributed or donated.
NOTE: I’m assuming the palettes mentioned are all empty of watercolor pans so that you can customize it to your favorite colors. Also your mileage may vary if you like using a lot of colors as my comparison is not specific to the amount of colors/wells/pans you might need. I’m talking about the basic material, cost, and flexibility to exchange colors on the palette.
Plastic

Pros:
- Lightweight (this is great if weight is an issue if you travel a lot)
- Affordable (for about $10 or less you can get a nice plastic palette)
- Lots of wells (there are slanted well options if you don’t want to damage your brushes)
- Lots of plastic palette options available
Cons:
- Color staining (if you use staining watercolors, it might be hard to mix true colors unless you dedicate a certain part of your palette for that color but the stain can be removed with a white eraser)
- May crack under pressure (so if you stuff your palette in your bag, you might want to handle it with more care)
- Can’t remove or swap colors easily without using up all the paint in the well first but not an issue if you already know your favorite colors
Martin Mijello Airtight Watercolor 18-Well Blue Palette
Metal

Pros:
- Appears to be more sturdy but can dent and get scratched
- Has a thumb ring to stabilize holding the palette (typically has a ring at the bottom for you to hold if you like to paint in the open),
- Removable/customize-able paint pans (you can easily swap your pans on a whim, for example if you like half pans or full pans or want to change a color)
- You can add more pans if you remove the metal interior pan holder
- More costly (However, I’ve seen some empty metal palette being sold online for about $12 but the quality is hit or miss)
Cons:
- Palettes are a bit heavier (if weight is an issue)
- Metal can rust (if you’re a messy painter and get water and paint all over the place, it could increase the chance of it rusting)
- Metal palettes aren’t customize-able in terms of exterior size (they all seem to be either rectangular or square)
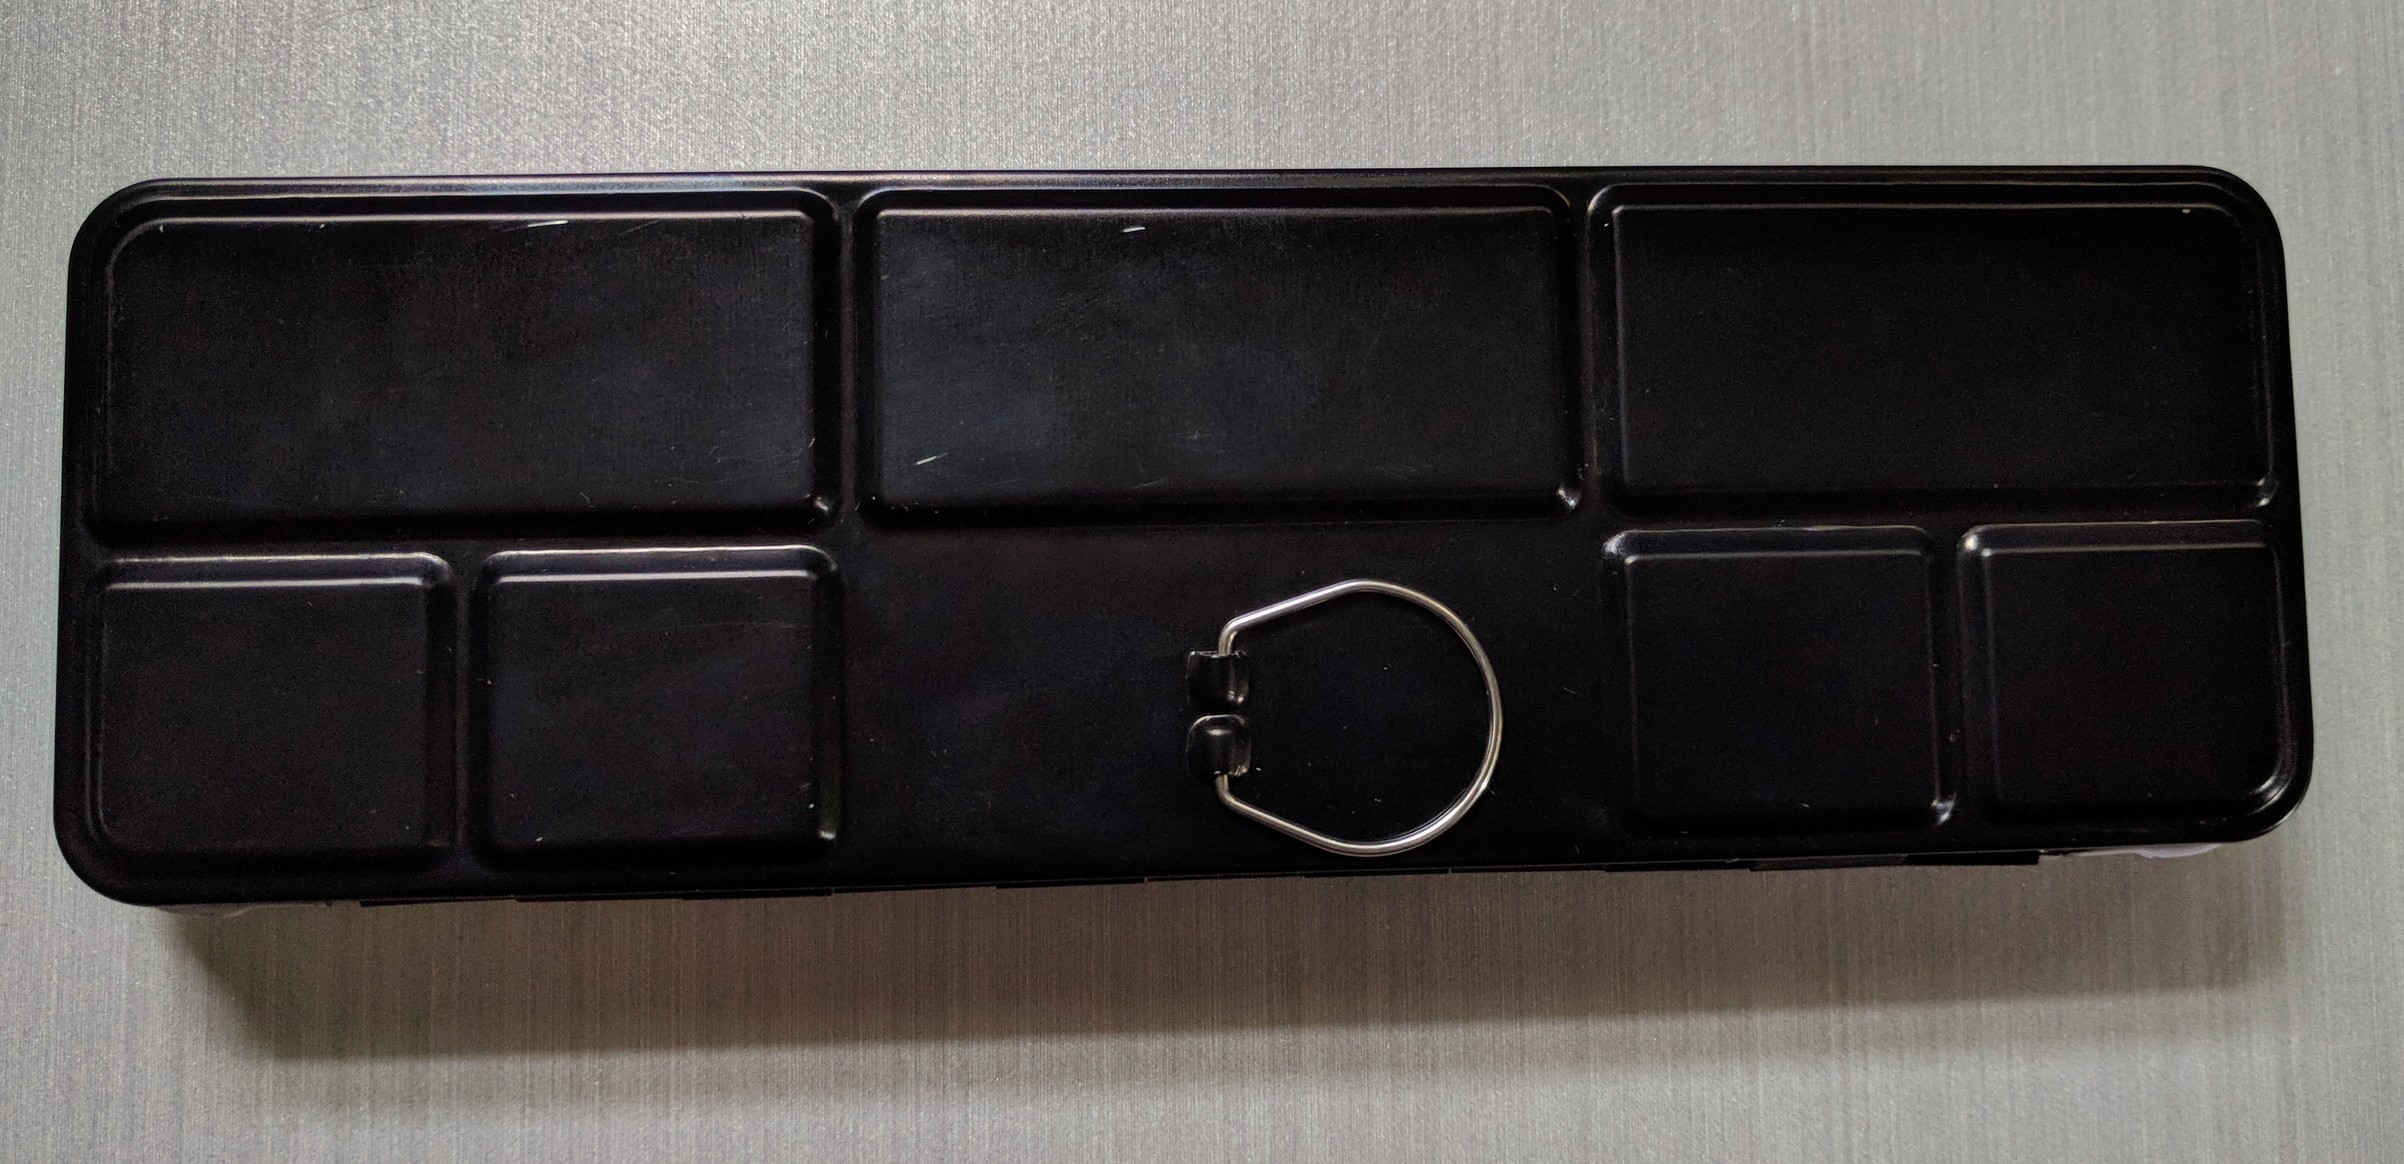
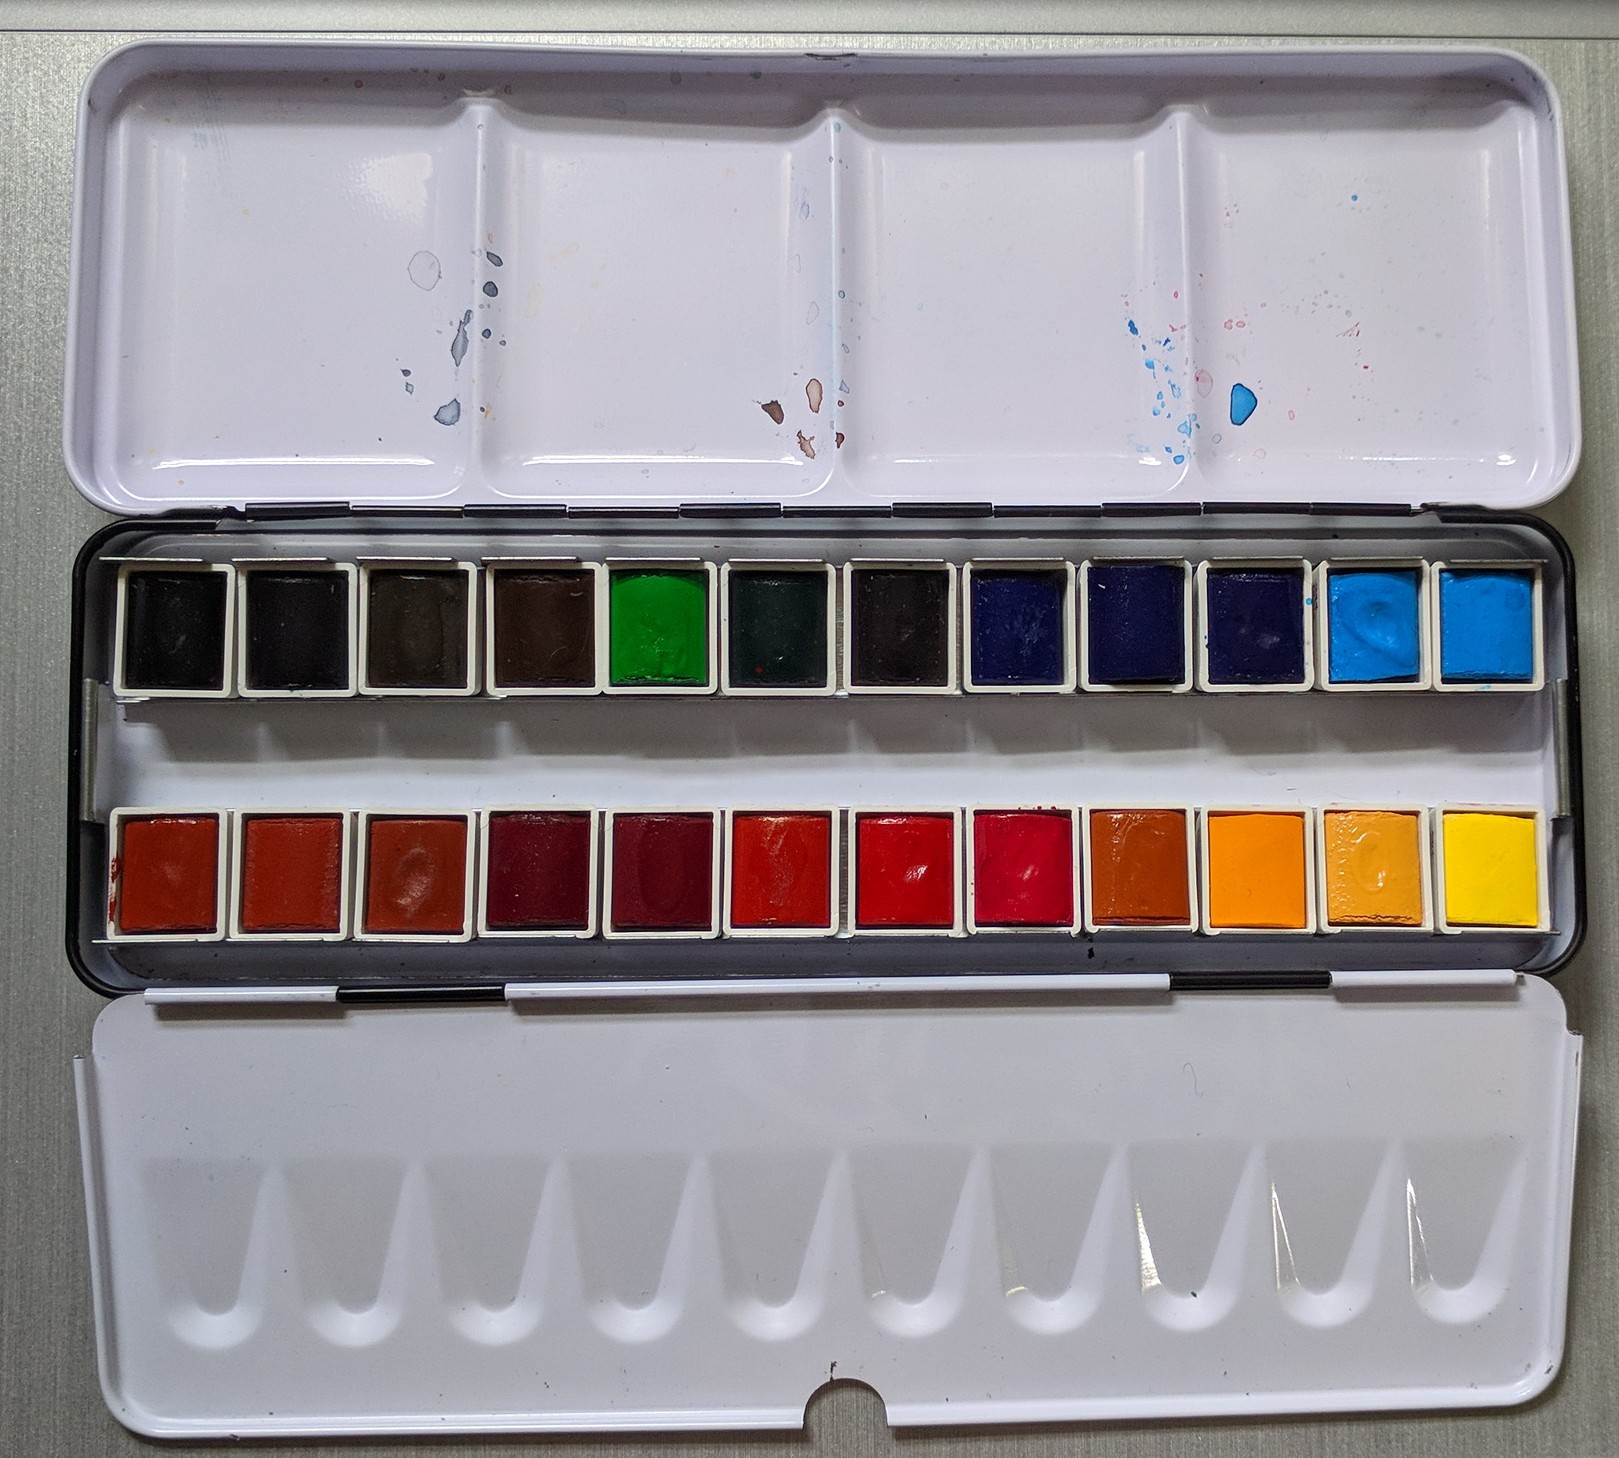
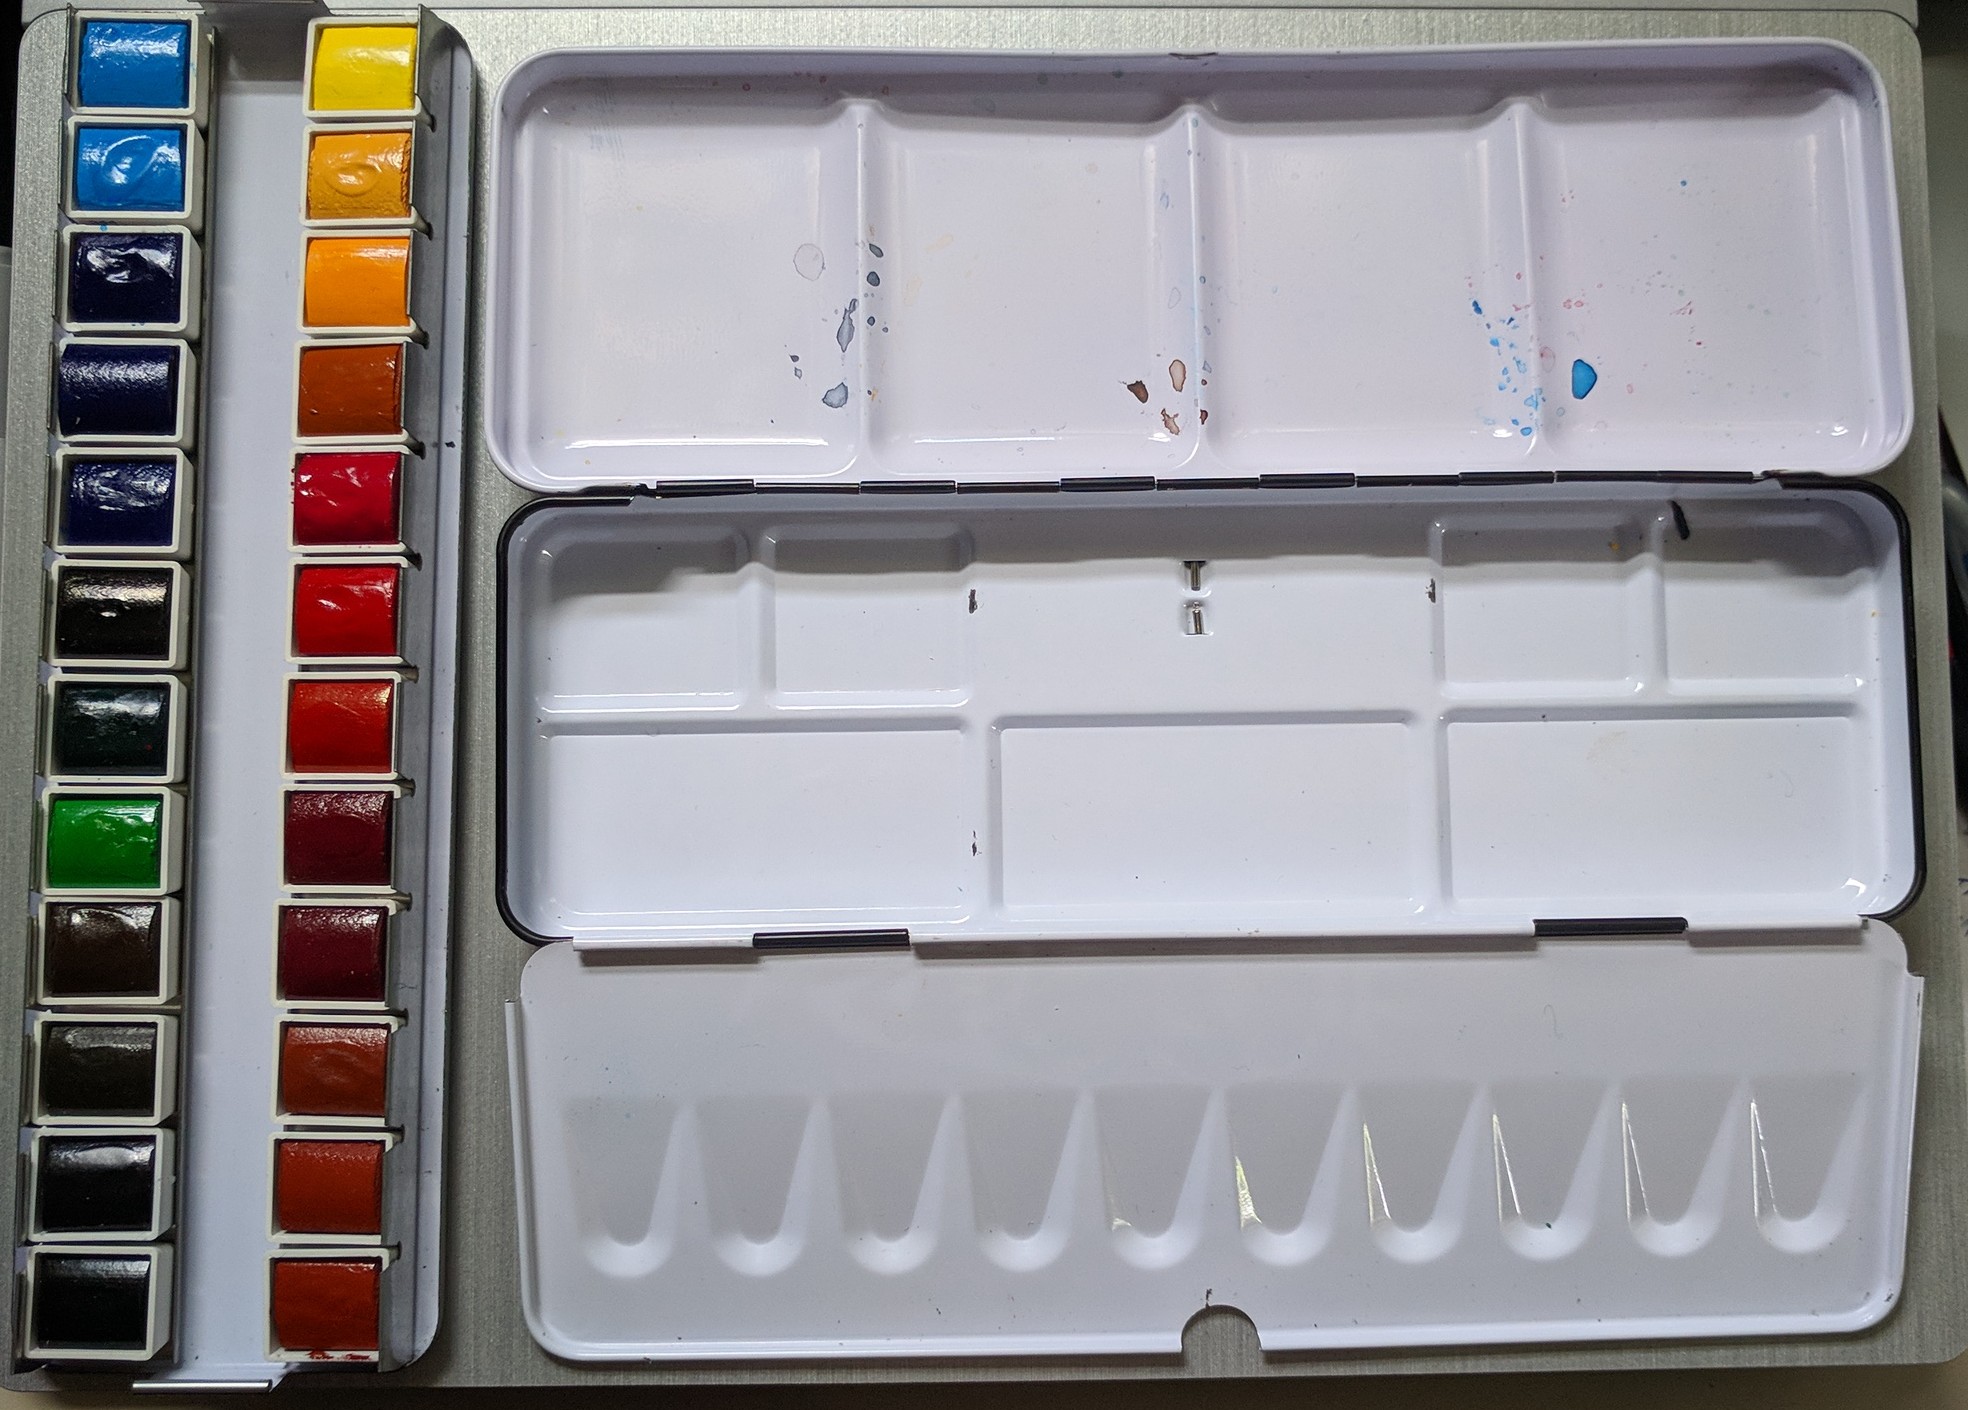
I know there are Ceramic and Porcelain palettes but as I’ve not used it myself and I don’t feel they are travel friendly, I’ve opted to not include it in this comparison but I’ve heard positive things about it if you have a studio space to include it.
There are many custom-made palettes which look amazing but I don’t have the funds to purchase any of them, but as with all tools, they are an investment if you see one you like.
DIY
Now if you feel crafty or can’t find the perfect palette but feel up to trying to make it yourself, here are a few creative ways I’ve seen done. I’ve tried a few myself and enjoyed it.
Disclaimer:
I do not claim to be the originators of these following ideas, these are ones I’ve seen during my research but the pictured palettes are all my own. You can compare the thickness of the various palettes below. The thinnest is the make up palette so would make a nice travel palette.
I realized I preferred plastic palettes for their weight, price, and accessibility. If you prefer metal palettes then these DIY options might be more of a challenge. You might have to spray paint it with a water-resistant coating to prevent it from rusting.
Reduce, Reuse, Recycle:
If you’ve bought student grade watercolors and like the palette, why not keep the palette (either once all the paint is gone because you or your kids used it all up, right?) and put in your own favorite colors. You don’t need a fancy palette to make a fantastic painting! That is a lie I told myself so I could purchase more palettes. Don’t hoard like me.
Make Up Palette:
I’m assuming most people reading this might be a woman, if not I apologize, but this could still be relevant if you have some female friends.
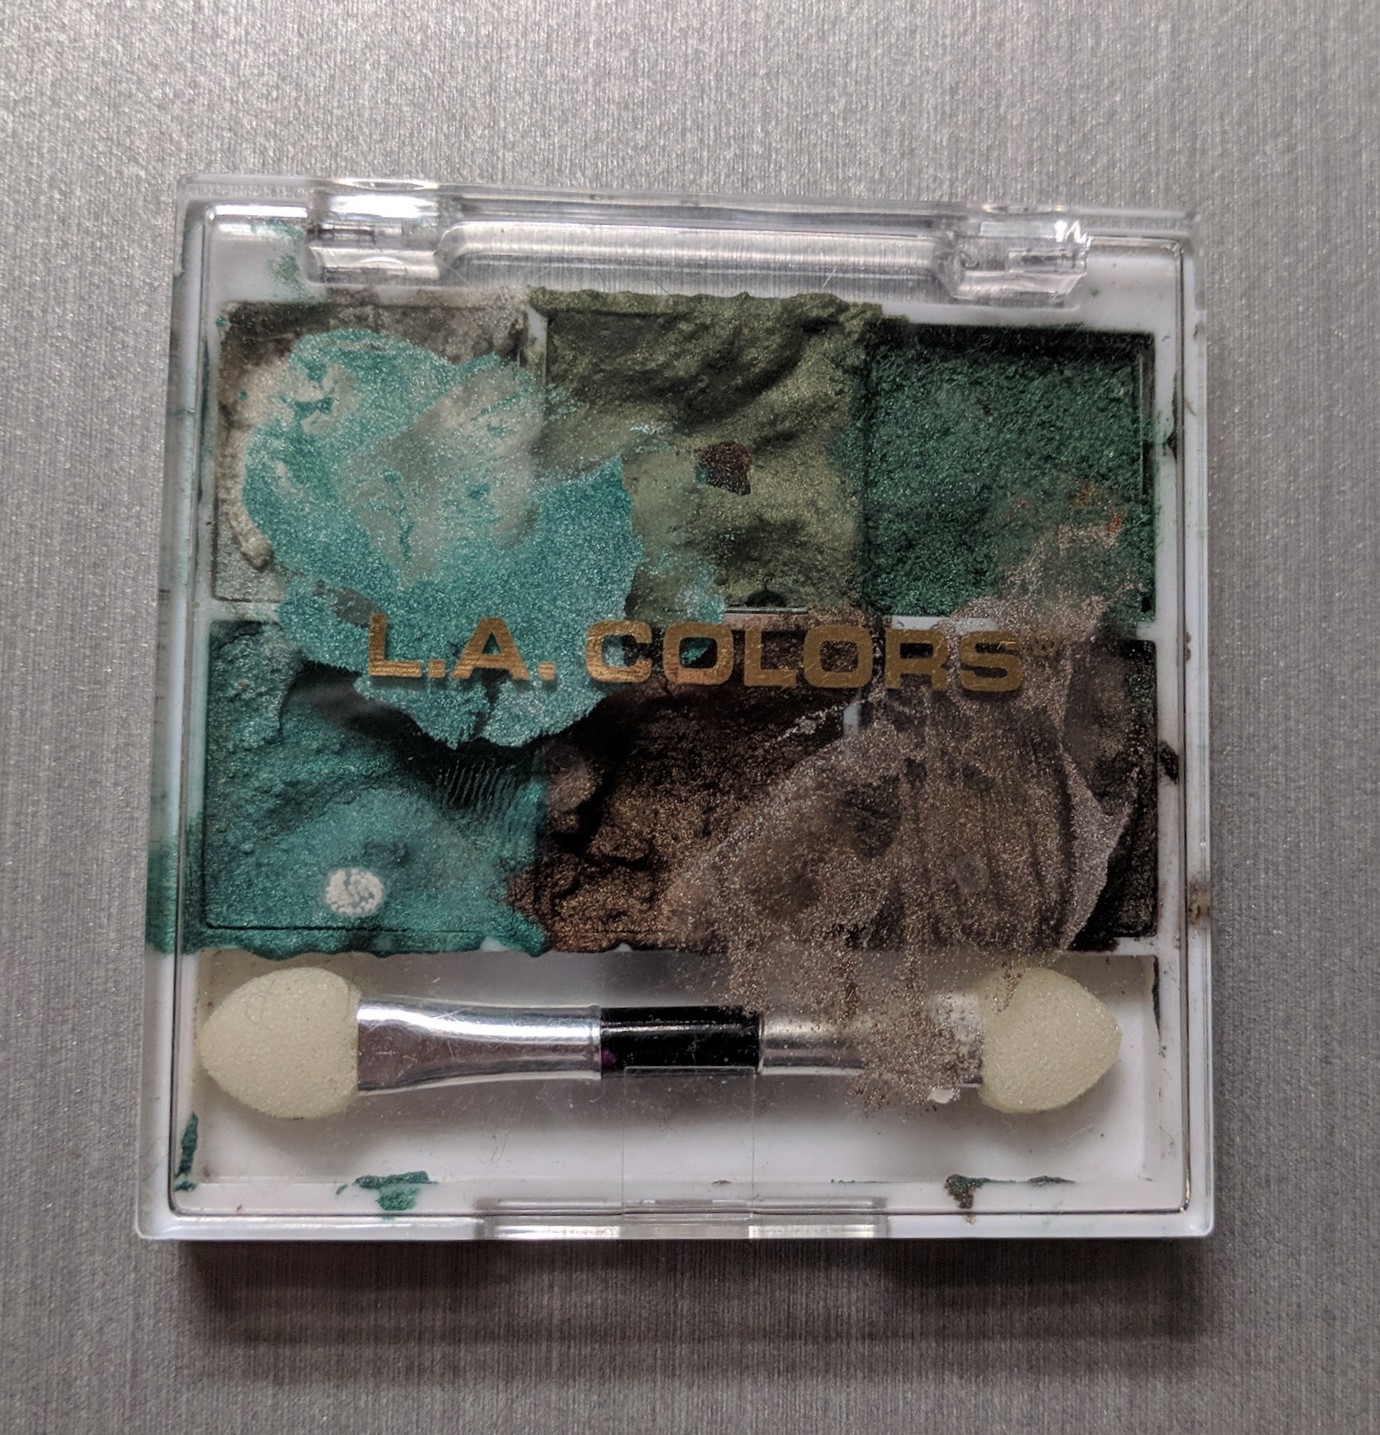
Some ladies and fellas buy make up palettes, primarily the eye shadow palettes where I could get one from my local dollar store (Come on, how great of a deal is that?). Those are conveniently separated by wells (can range in the number of wells so make sure you get one that holds enough paint colors for you) so all you need to do is use up your make up, which you’re going to do anyways, right? Then when it’s all done, if there is metal at the bottom of the wells, spray it down with white water-resistant spray paint. Then add your watercolor paints of choice. Voila! Instant watercolor palette! Mixing space may be small but it works. It’s super lightweight and compact.

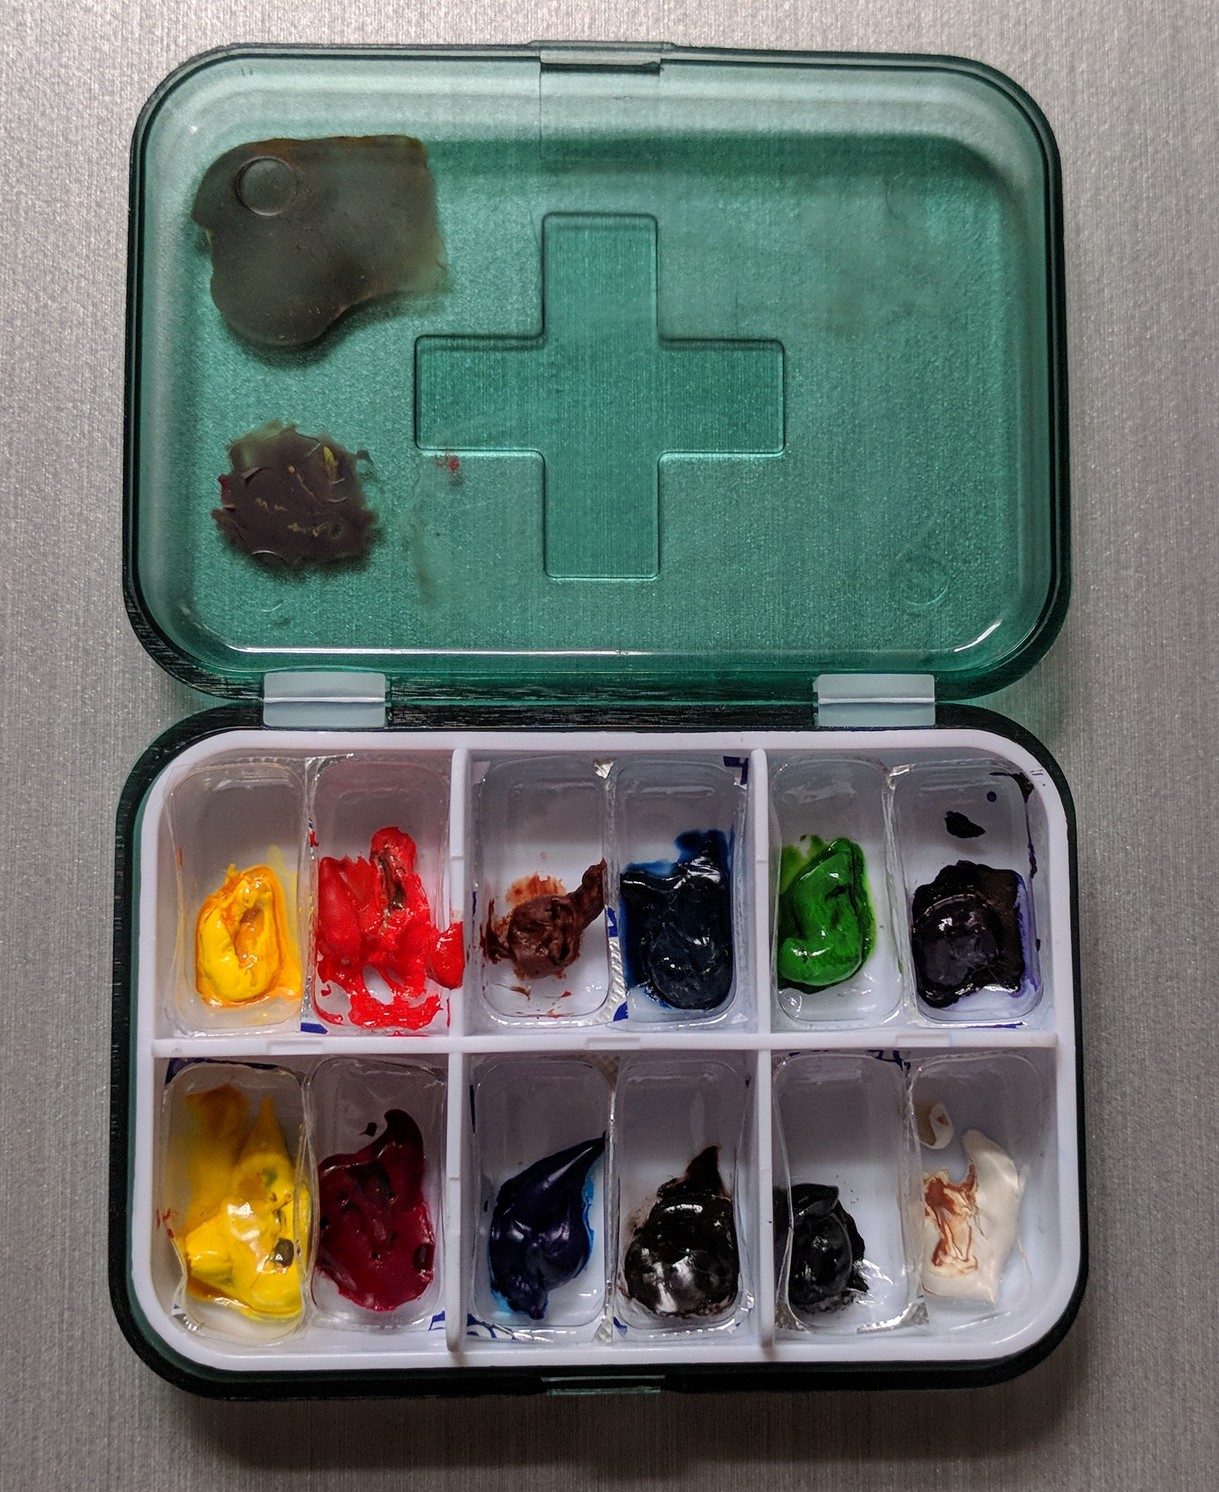
Vitamin Organizer:
These can be found in your local dollar store so they are easy to find and affordable but it limits your number of paint colors and you’d need to find a good mixing space unless you mix on your paper. You don’t usually need more than 6 colors but I understand wanting to have convenient colors at my disposal when I’m out and about painting.

Altoids or Metal Tin
Now this idea has been around for a while. Many creative crafters take an empty Altoids or mint tin and spray paint it with white water-resistant spray paint.
I’ve seen a few options for the interior wells:
- You can buy empty pans and fill it with your favorite paints and add magnets or poster tack to keep the pans steady in the tin and you can still swap them out
- Empty plastic gum containers can be used as wells but it might be a challenge to find ones that fit the tin well but if you chew a lot of gum you’ll have plenty of options
- Plastic bottle caps are easy to find as wells but they leave empty spaces in your palette
- Baking clay in the tin and shaping the wells to the size you want is fun and creative but might add more weight to the palette. You wouldn’t be able to change colors as easily.


There are plenty of customized watercolor options available on Etsy if you have the funds but honestly you don’t need a lot to make your own palette.
Before you go, I want to leave you with a friendly reminder that a watercolor palette is a tool, much like the brush and paint. It doesn’t make you a better painter but it makes it easier for you to access the colors you love and most of all it gets you excited to get started to paint!
While it’s nice to want to use the palettes a popular artist uses or even what the old artists used, it still doesn’t change the fact that you need to use these tools to learn and grow. You may eventually outgrow your current palette but at least you’ll understand the little quirks you like to use in your tools that make you happy and excited to use them.
That’s all the tips I have for you for now! What are your thoughts? Do you have any advice to share with our fellow beginner watercolorists? Share them in the comments below!

WOW! I didn’t know this much about watercolor, thanks so much for this helpful info 🙂
No problem! Glad you found it useful and thanks for the comment! 😀